3D printers can be easily upgraded. Many components are standardized and 3D printers can…print their own enhancements. However, it is easy to fall into the trap of wanting to improve everything, and especially to want to print all the improvements, which by the fact seems free.
However, acquiring a machine to see it spend its time printing parts for itself…is not very productive.
In the end, few of these improvements are really useful. So I simply advise to make improvements only if you feel the need.
I own two Ender 3. The first one is almost two years old, and has undergone almost every possible improvement, so many have ended up in the trash. I’ve owned the second one for a few months now. I only made two modifications: the hotend (useful), and the cork insulation plate (not very useful).
Useful improvements
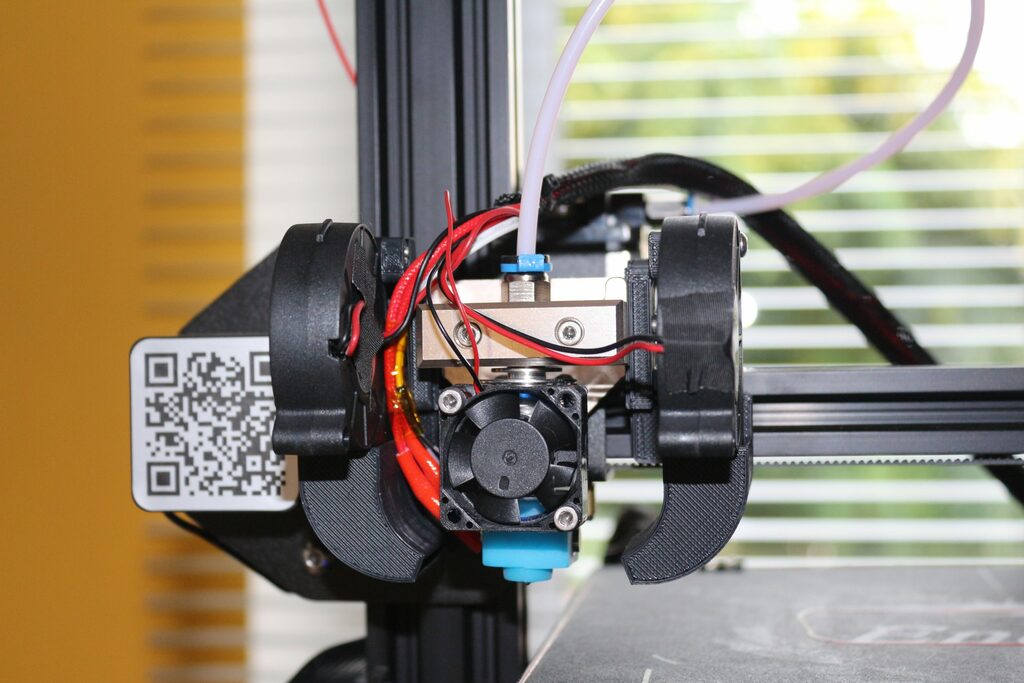
The biggest flaw of the Ender 3 is its print head. It doesn’t cool well, and ends up clogging… irreparably… despite all the fixes you can find everywhere, it always ends up clogging. The only solution: upgrade the hotend. Here are the two models I tested, and which allow continuous printing.
MELLOW NF ZONE Hotend
Mellow offers many high quality products, including this hotend:
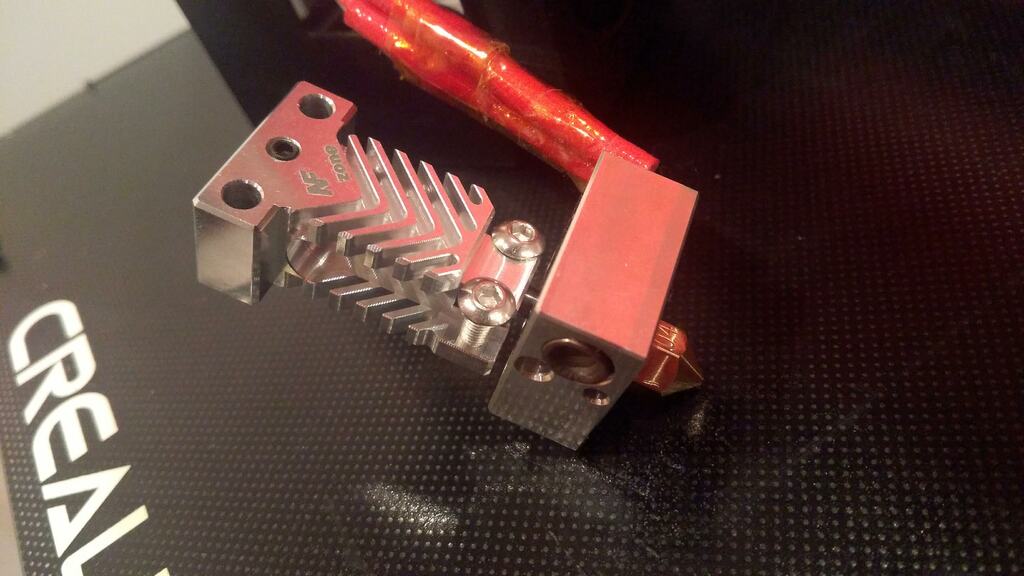
It is fitted in place of the original head, so no modification is required. The shape and choice of materials optimise cooling, while the nozzle is machined to very tight tolerances to ensure high quality prints.
28€ on the Aliexpress store (24V required)
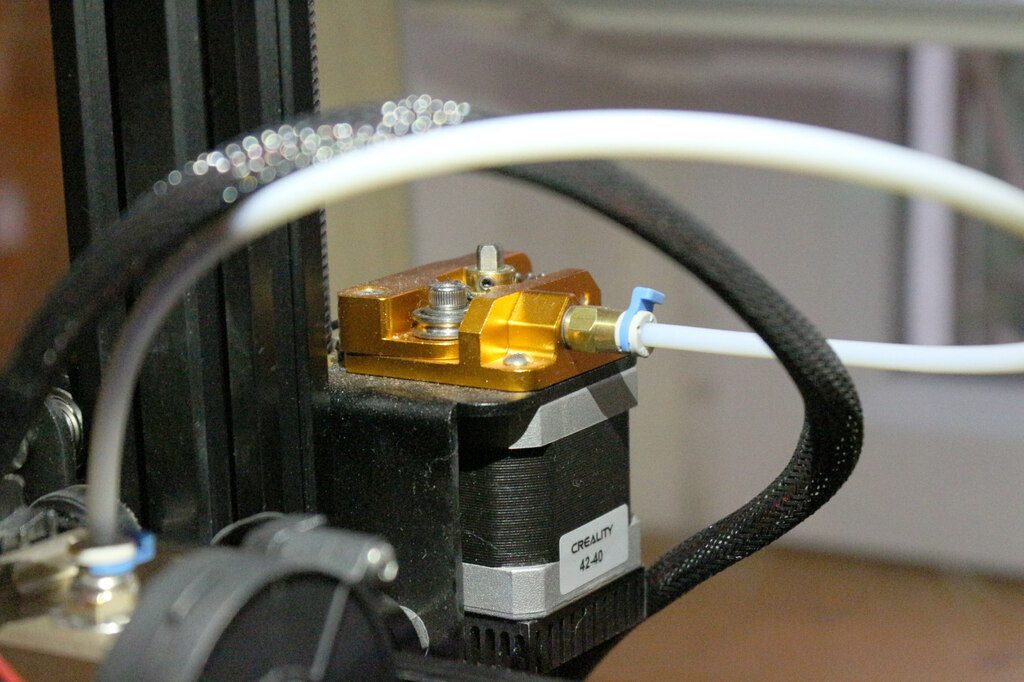
The E3d v6 print head from ST-Technologie.
Clones of the E3D V6 hotend are available everywhere, and the shape is quite distinctive. The problem is that this head does not fit directly onto the printer chassis: an adapter is required.
ST-Technologie offers a kit including the E3D V6 head, the adapter (machined in aluminium, very clean), as well as two fans to cool the molten plastic. In short, a very interesting all-in-one solution, which I used for a long time without any problem.
Its only flaw is the 3cm fan (like all E3D V6), which is rather noisy, especially since it is not in a housing, as on the original head. Also, beware of the fan support that clips onto the metal body: it breaks easily (but is easily reprinted too).
72€ (often on promo at 47€) on ST-Technologie.
The cork insulating plate :
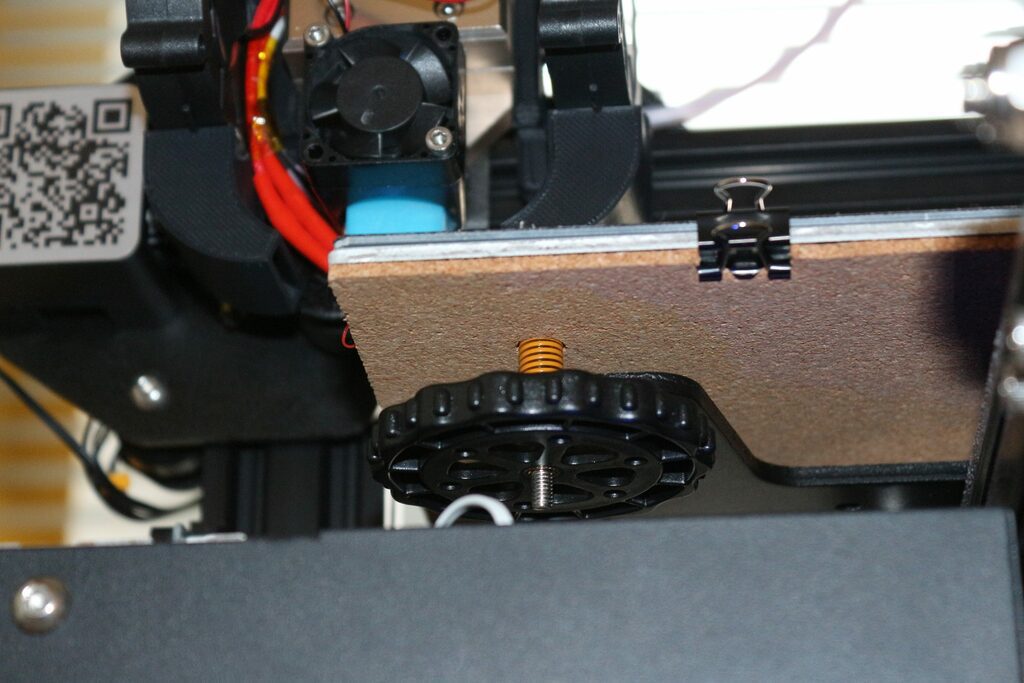
It is pre-drilled and very easy to use. It allows a better distribution of heat, therefore to fight against the warping, and also to limit the rise in temperature of the environment of the printer. It thus makes it possible to optimize the cooling of the print head.
The rise in temperature is also a little faster, so the printing starts a little faster. On the other hand the cooling is longer, which is annoying if the parts have difficulty to come off.
It also allows a reduction in consumption (minimal, not enough to justify the price…).
So it’s an interesting improvement, I’ll probably install the same on my second machine.
The motherboard v1.1.5
The Ender 3 uses rather noisy stepper motors. To make them silent, the best solution is to replace the motherboard by the v1.1.5. Beware, the Ender 3 V2 already integrates a similar board, so this improvement will be useless if you own it. Do not use the shock absorbers for the motors, which I talk about below.
40€ on Amazon, 33€ on Aliexpress.
Improvements not always useful
The enclosure
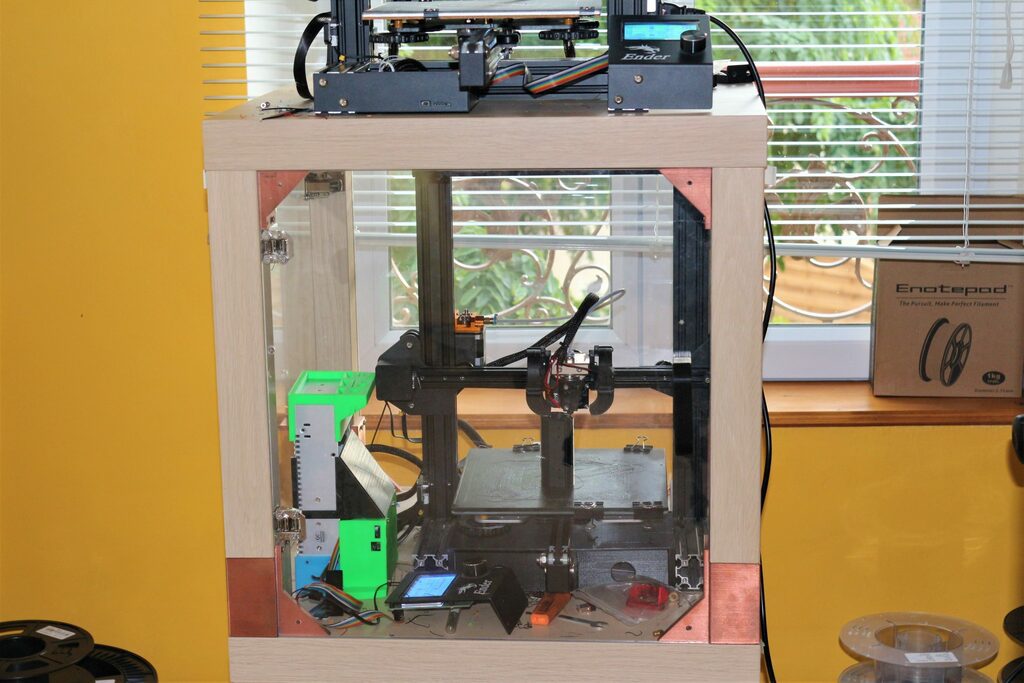
It’s a huge job, which has the following interests:
- To integrate the printer in a cabinet
- To regulate the temperature of the environment of the printer (my case is equipped with a 120mm fan), which is particularly important to avoid the detachment of the parts during the printing.
- Avoid dust: it is indeed one of the causes of clogged nozzles. It is particularly useful if the printer is not used for a long time, wherever it is located in a dusty environment (workshop).
- Reduce noise : Noise is reduced, but not eliminated. It is 95% reduced if you use the v1.1.5 board with a 120mm fan.
Drawers and other storage
Many parts can be printed to improve the machine. I have been able to test a number of them, and few are useful. So here is the only improvement, present on only one of my printers, and which does not prevent me from having a certain mess around :
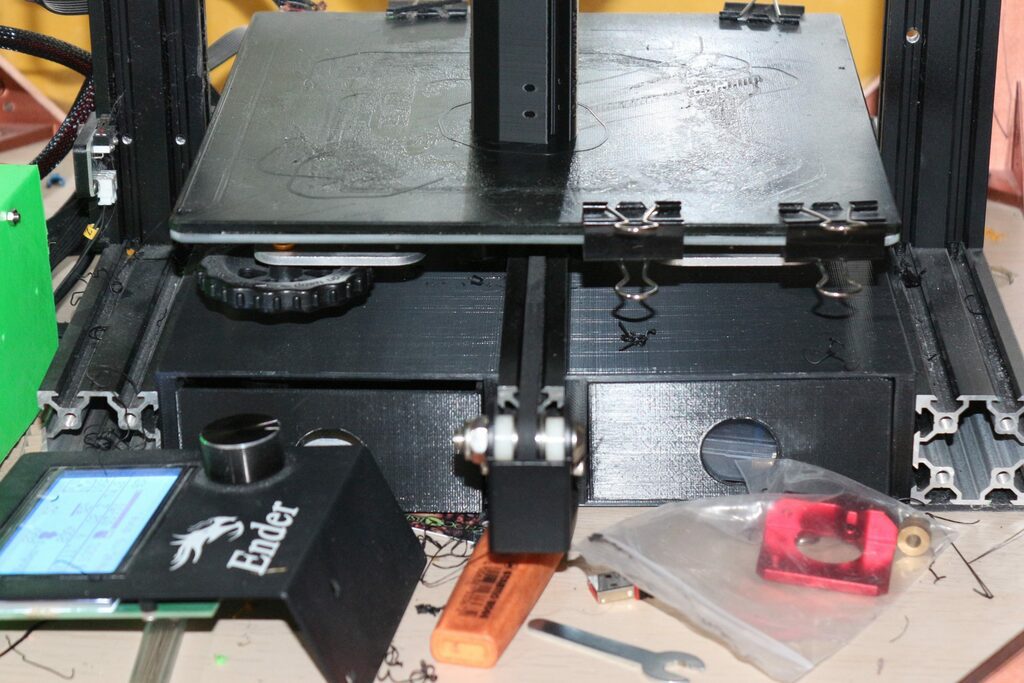
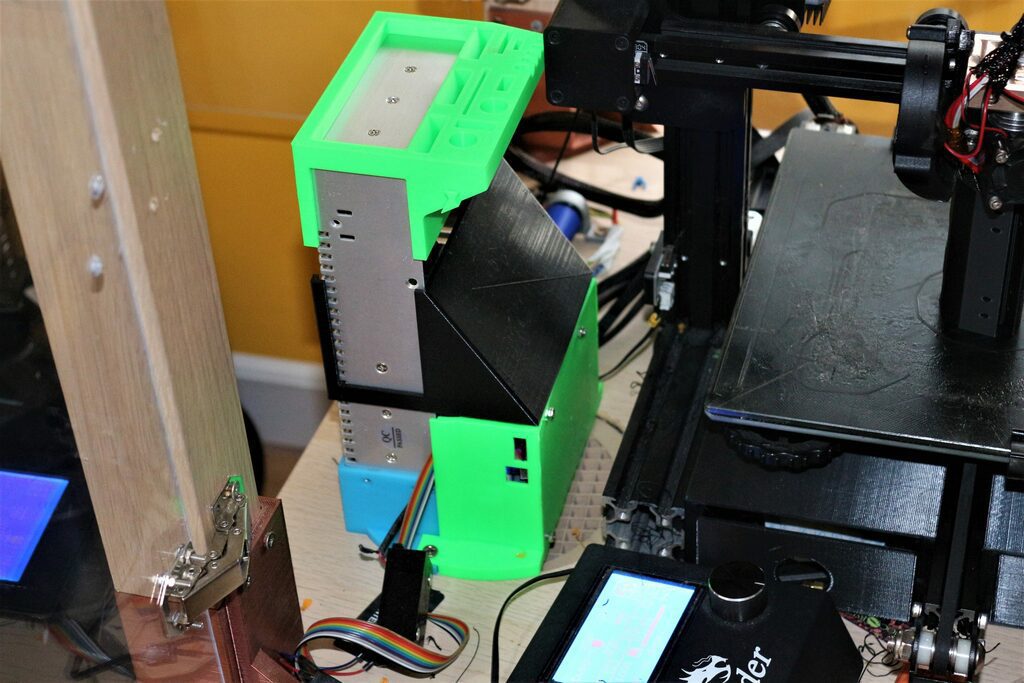
There are also many tool holders. On my first printer, I gathered the motherboard and the power supply in a single case, under which is a 120mm fan, which limits noise. I then modified a tool holder so that it could find its place above the power supply.
As you can see…it is empty. “Where are the tools?” you will ask me. I have no idea.
Once again, we can spend a year optimizing the machine and its accessories. In the end, you don’t get a better machine. So if it works, make it work.
The yellow springs
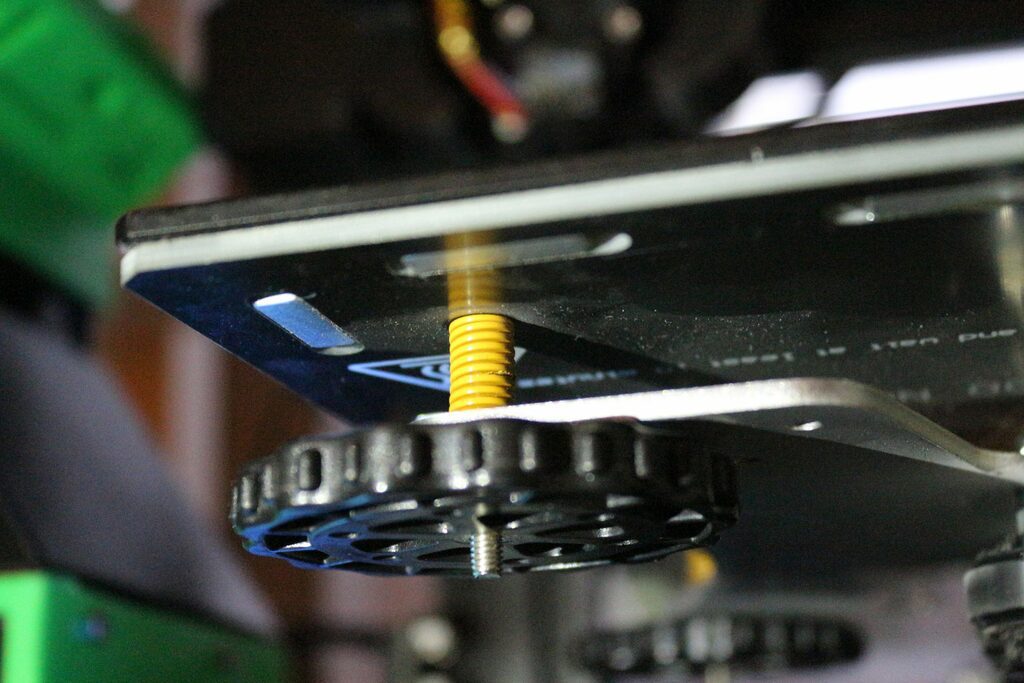
The yellow springs are stiffer than the original ones. The screws are therefore less likely to loosen, especially when forces are applied to the platter to remove a part. In theory, you need to adjust the platter less often.
In practice, I waited a long time before installing them on my second printer (I had a few left over), and it didn’t seem to go out of adjustment. So an interesting evolution if by chance you need to remove the heated bed.
I also use these springs for the P1 clutch pedal, and the SRT gearbox.
8€ on Amazon, 3€ on Aliexpress.
Y-Carriage Plate
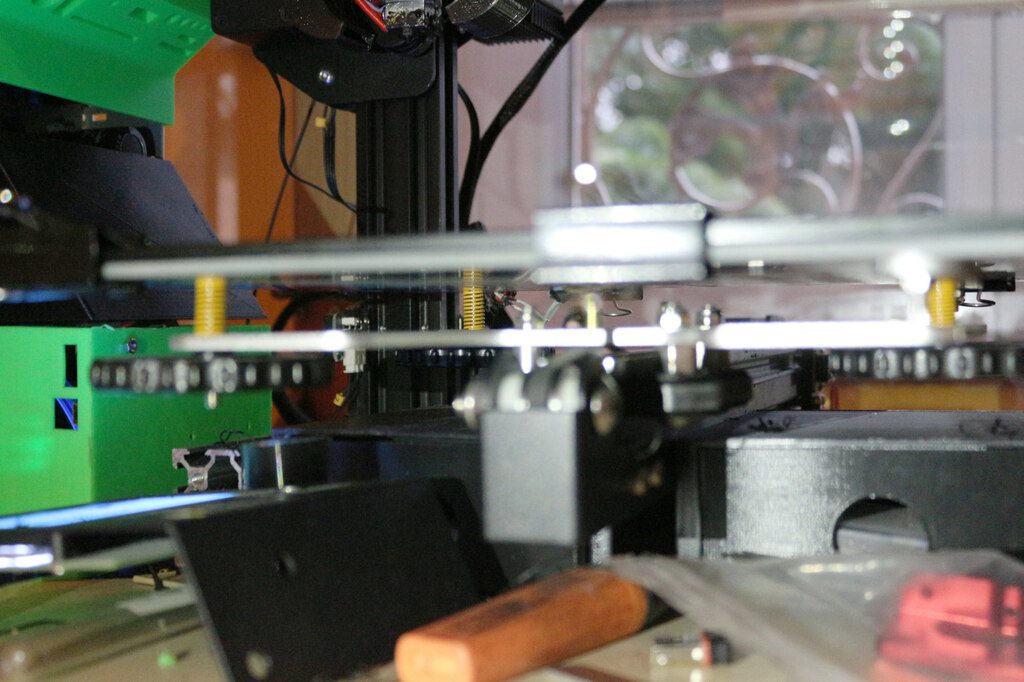
3 points define a plan! Yes, take three points in space, you will have one and only plan that will pass through these three points. Take four, and you will already have much less chance of the same thing happening. So it makes a lot more sense to use a three-point board…in theory.
In practice, 4 points allow you to make up for certain imperfections. So I did not install this improvement on my second printer, and do not intend to do so. On the other hand it is true that the adjustment of the carriage is faster with only 3 points.
Improvements that were of no use to me
Finally, here are the improvements that I have tested and that did not help me. I must make it clear that this is my personal experience.
The glass bed.
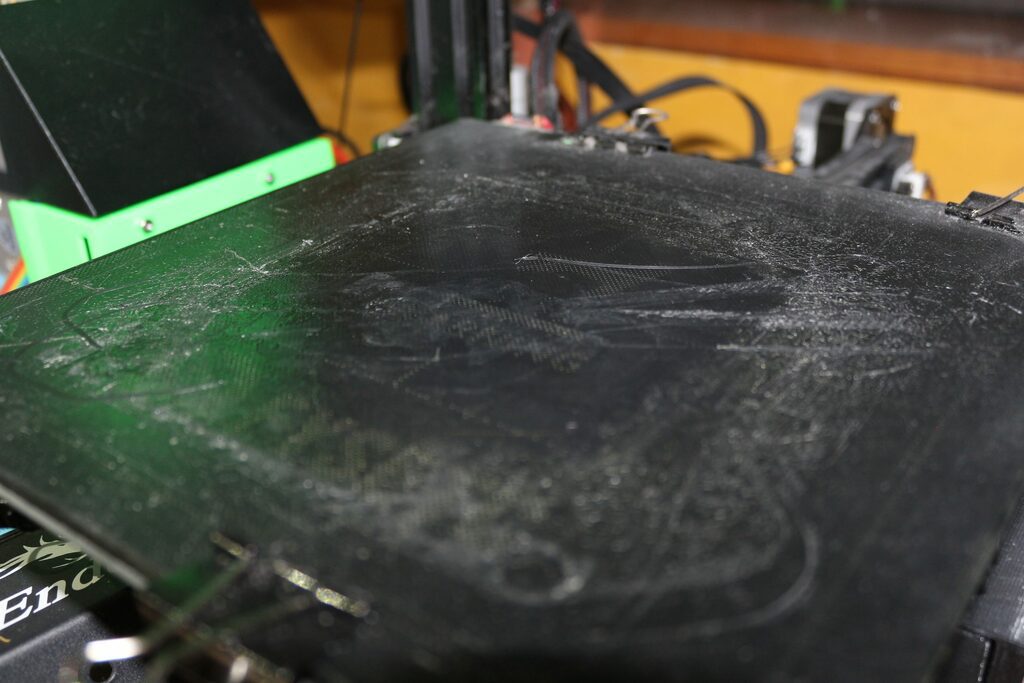
I have this glass bed on my first Ender 3. I had taken it in particular for problems of flatness. Turns out it didn’t help. My more recent Ender 3 has its original bed, and works perfectly (with the E3d V6 head). I often even have trouble taking off the prints. Again, the rule is to keep a stable temperature in the room where the printer is located, the rest is of little importance.
In any case, be aware that the bed wears out. Especially since most of the time you print in the center of the bed, which may be very slightly hollowed out.
Capricorn Bowden PTFE Tubing

![]()
This tube is recommended because it reduces the friction of the PLA in the tube, and is supposed to be more temperature resistant … supposed to be more … I tried it many times to fight against nozzle clogging, without success. It may last a bit longer than the original tube, but it won’t save you.
Aluminum extruder
It’s pretty, but that’s all. If your extruder works, there is no reason to change it for this model. No matter what model, just make sure that the bearing…rolls well, and that the lever doesn’t rub too much against the base. If it rubs too much, it will not apply pressure. Finally, if you hear a “clack”, it’s from your extruder that can’t push the PLA. In 95% of the cases it is a signal that your nozzle is clogged, not that your extruder is defective.
12€ on Amazon, 6€ on Aliexpress.
Vibration dampers

![]()
I probably should have put it at the top of the list. These shocks are indeed very effective for the price. Unfortunately, they have some rather heavy disadvantages:
- It requires specific 3D printed supports
- They reduce the natural cooling of stepper motors. Indeed, these normally dissipate their heat by contact with the metal chassis, which they will no longer be able to do. While heating, they also risk deforming the plastic parts. And don’t count on the small aluminum radiators often supplied with them: they are more than limited in efficiency.
- They prevent proper alignment: they are relatively soft, so the stepper motors move, and are not perfectly aligned. As a result, the forces are not distributed as well, which is not good.
It took me a long time to assemble them, and I finally disassembled them fairly quickly. I then installed the v1.5.5 motherboard, for a much better result.
13€ on Amazon, 7€ on Aliexpress.
Conclusion
This list is not exhaustive (I have not tested everything either ^^). But now you understand the idea: you only print/buy an enhancement if you need it. If it’s not the case, we print pedals and gearboxes !!!
I bought the plate from him https://www.amazon.es/gp/product/B08GLDXWFX/ref=ppx_yo_dt_b_asin_title_o00_s00?ie=UTF8&psc=1
To my ender 3 and the difference is very big. NEMA motors cannot be heard. It seems that the printer is stopped when it is printing. Very quiet!
I have the same. It’s a great update !