The P1 belt tensioner allows you to feel positive and/or negative Gs in sim racing. It works with FlyPT. It’s a DIY project !
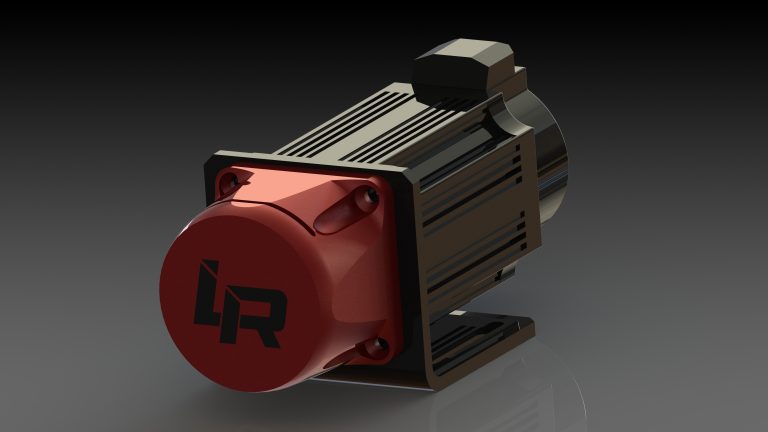
The V2 offers torque gains thanks to a smaller diameter spool. The housing is now total for greater safety.
Summary:
- Presentation
- Caracteristics
- Shopping list
- Control Box
- 3D files
- Driver wiring
- Driver settings
- Arduino code and FlyPT profile
- Assembly
- Additional adjustements
1) Presentation
What is surprising is the absence of latency and the strength, we even feel the kerbs!
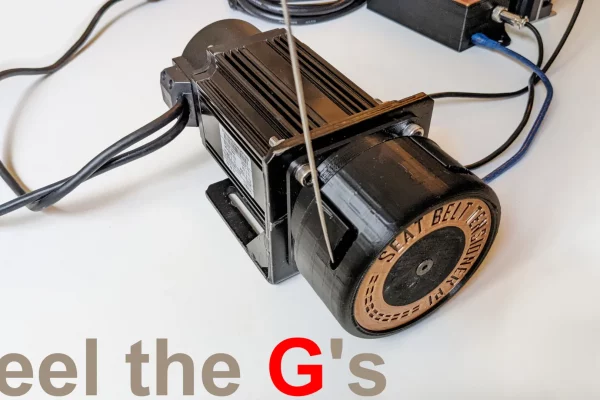
The harness tensioner consists of a harness (4 or 5 points), an servo motor, and an arduino board connected to FlyPT.
The system is precise and reactive, it engages immediately, and we feel the difference of braking between a F1 and a basic car, we also feel the activation of the ABS. It’s the most satisfying solution to feel the G forces in Sim Racing.
This system may not allow to adjust the braking. However, we feel a direct link between the pressure applied on the pedal and the tightening of the belt.
2) Caracteristics
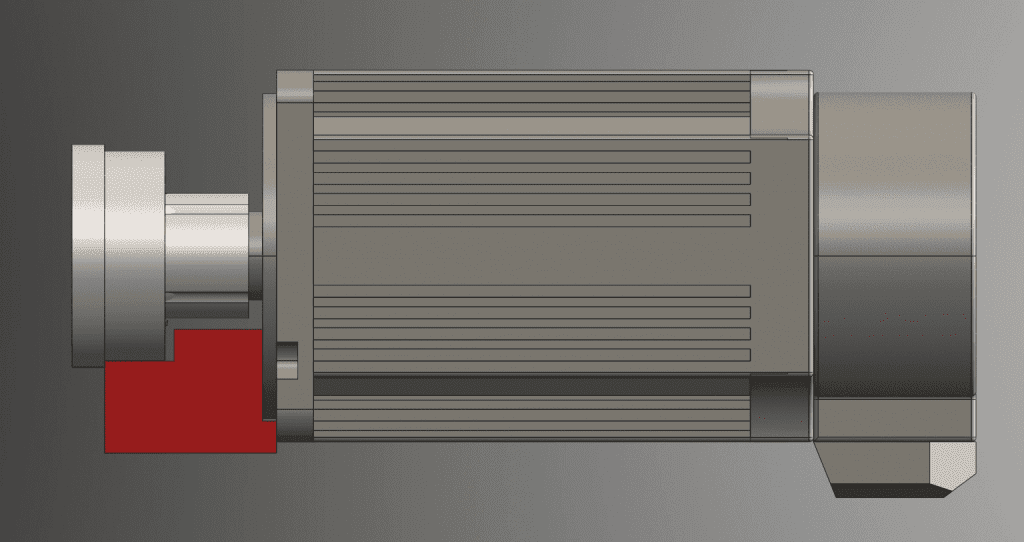
The motor pulls on a cable that wraps around a reel. The cable pulls the belt backwards, which gives the impression of being thrown forward.
There is a casing that is mounted around the reel for safety.
3) Shopping list
Industry&CNC offer a kit (fast shipping, slow shipping) that includes :
- 1 x 80st-M02430 servo motor with a AASD15a driver and shielded cables
- 1 x 80st mounting bracket
- 1 x GX12 4 pin connector
- 1 x Câble 4 fils, 22AWG
- 1 x Shaft coupler
- 1 x bicycle brake cable
It remains then to order :
- Arduino Due (Amazon, I haven’t tested a clone).
- A 4 points seat belt (I tested 5 points, but as a man, I didn’t find it pleasant, you know what I mean?) (Aliexpress).
- 0.5kg of pla to print the drum.
- 2 x DIN912 M6x30mm
- 6 x DIN7991 M6x30mm with nuts
- 2 x DIN7991 M8x25mm
- 2 x M5x20mm grub screws
4) Control box
| Smart Control Box Uno (exclusivité Patreon) | G Force Control Box |
| Arduino Uno R3 | Custom processor |
| Simhub | Simhub |
| – Preloading adjustement – Gain adjustement – Switch Power – Switch Accel – Switch Brake | – Preloading adjustement – Gain adjustement – Switch Power – Switch Accel – Switch Brake – Power Management – Extra Safety – Standalone control panel |
| Complete documentation | Complete Documentation |
5) 3D Files
All the 3D files are available on the download page. You can also order directly the 3D printed parts on the shop.
The rollers (this system depends a lot on the seat you have, so for the moment, I don’t include the components in the shopping list of this project). This is not an obligation.
6) Driver wiring
NOTE: The harness tensioner can be dangerous. At full power, it is used a lot around the collarbones. Therefore, an emergency stop button should be provided.
Make all connections without power.
Perform all tests without any parts on the motor shaft.
Once the tests are done, and the belt is installed, perform the tests in 10% power increments, always being able to cut the power.
Caution : Voltages, torques and speeds are important. Take all necessary precautions. I am not responsible for any problem.
a) Driver and motor power supply
It is difficult to make a mistake in the wiring of the motor. This part is detailed on page 8 and 13 of the drivers manual.
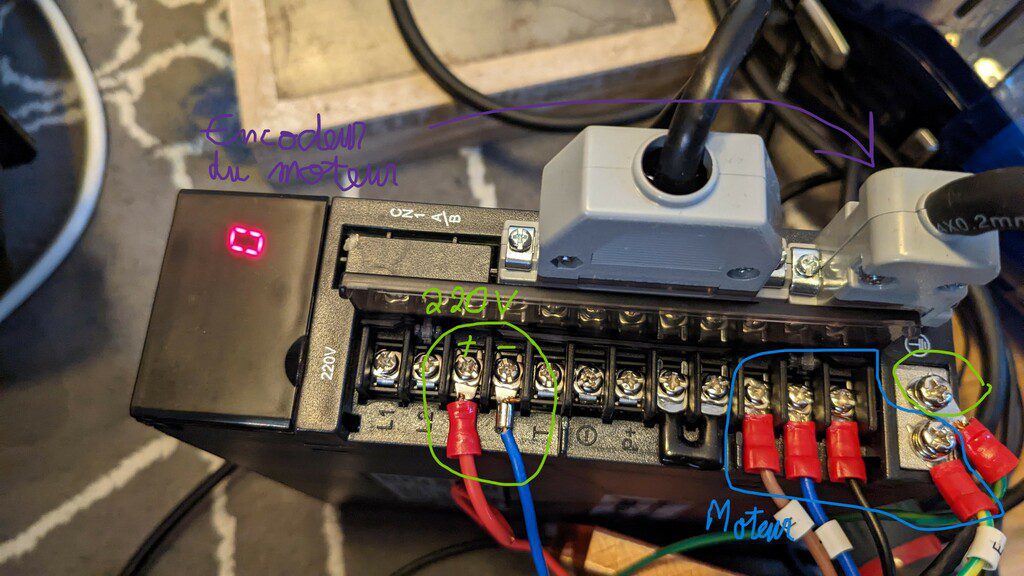


b) Arduino
The arduino wiring is detailled on the Smart Control Box documentation. The Gforce control box already comes fully wired and ready-to-use.
7) Driver settings
Drivers similar to AASD have 200 parameters, fortunately you don’t need to change them all.
The drivers manual is available here. This video shows how to set the parameters.
I highly recommend testing the engine operation via flypt with the engine disassembled!
| Parameter | Value | Explanation | Comment |
| Pn001 | 4 | Select the right motor, in this case an 80st-M02430 | No need to use a more powerful engine |
| Pn002 | 0 | Motor control mode | 0 : torque mode : we send a torque command |
| Pn003 | 0 | Activate/deactivate the driver | 0: the driver is turned on by the arduino. 1: the driver is always on |
| Pn188 | 0 | Smoothing filter | Increase to smooth the signal |
| Pn189 | 30 | Gain: the force of the motor | You can increase the value once the installation is fully functional. |
| Pn190 | -600 | Offset : allows to immobilize the motor on the value 0. This value must be calibrated on your installation, my value may not be the right one for you | This parameter also allows to add a small preload. |
| Pn191 | 0 | Allows to reverse the direction of rotation | 0 : When facing the engine, counterclockwise |
The last three parameters are taken into account by the driver without restarting.
8) Arduino code
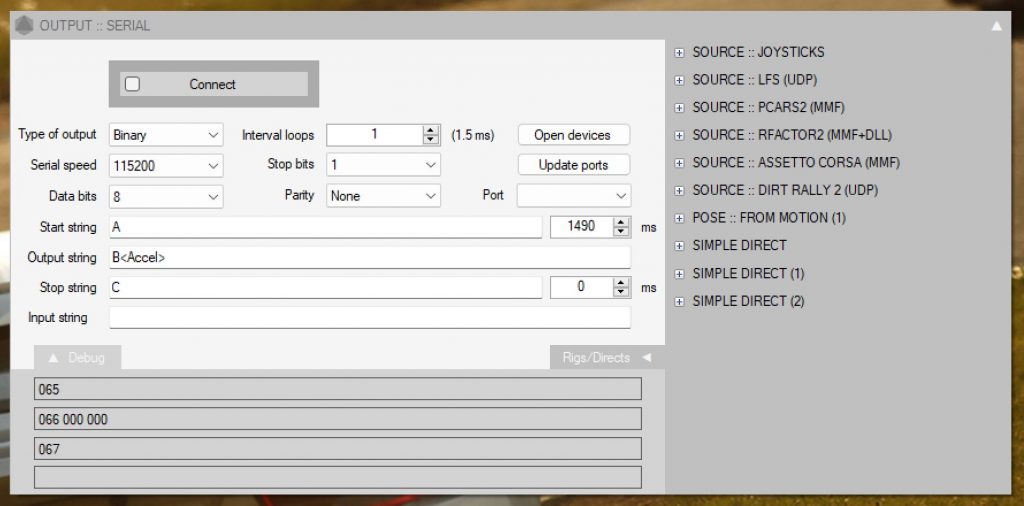
You can now flash the final code available here, still selecting Arduino Due (Native USB port).
Open the FlyPT profile. Click on Output::Serial > Update Ports, then select the Arduino port. Click on “connect” to connect the Arduino
Then if no source is connected, you can act directly on the slider (blue in this case) in “Simple Direct” to test the tensioner.
Once everything is in place, click on any source, and connect it. For some sources, you will need to make some modifications to the game. More details on the FlyPT website.
To adjust the force, you can act directly on the Pn189 parameter. The smart control box also allows to adjust the gain on the fly !
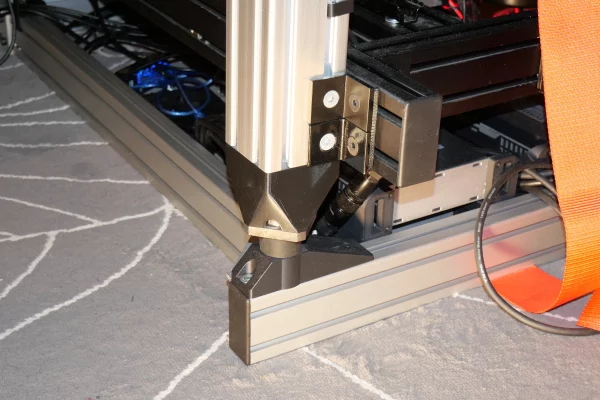
9) Assembly
1)To remove the key from the motor shaft, simply screw in an M3 screw that is long enough, and the key will come off by itself.
2) Install the coupler, positioning it using the spacer.
3) Position the bracket, remove the coupler mounting screws, and install the drum using two DIN912 M6x30 and two DIN7991 M6x30 screws.

4) Pass the cable through the hook clamp, then through the slot in the housing, then use one of the two DIN912s to tighten the cable.

5) Install the two M5x20 grub screws
6) Install the housing using the DIN7991 M6x30.
7) Install the tensioner
10) Additionnal adjustements
A mistake in the settings can cause the system to fail and therefore be dangerous. Until you are used to it, always be careful, able to turn off the power or assisted by another person.
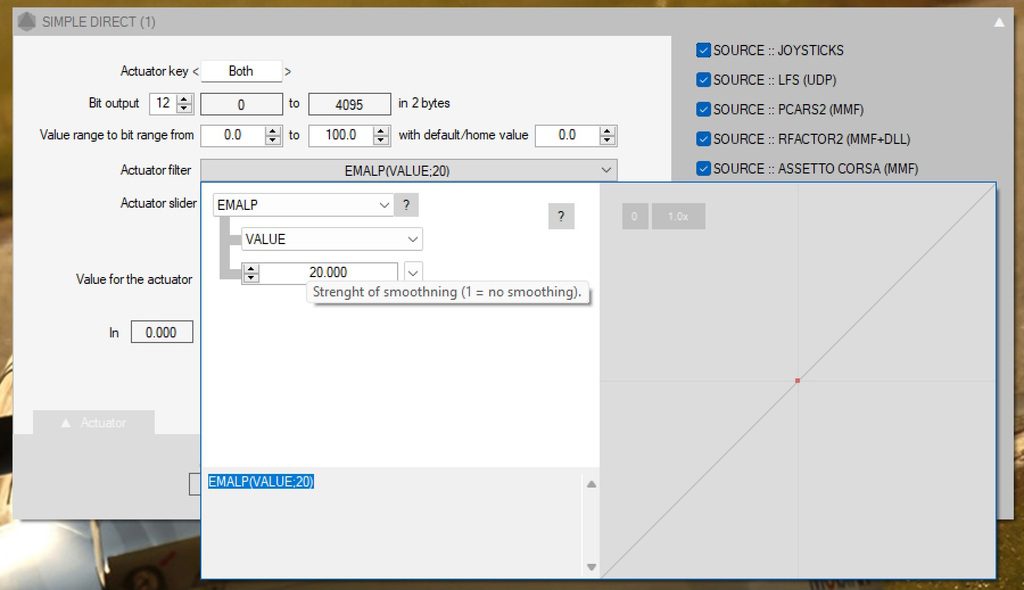
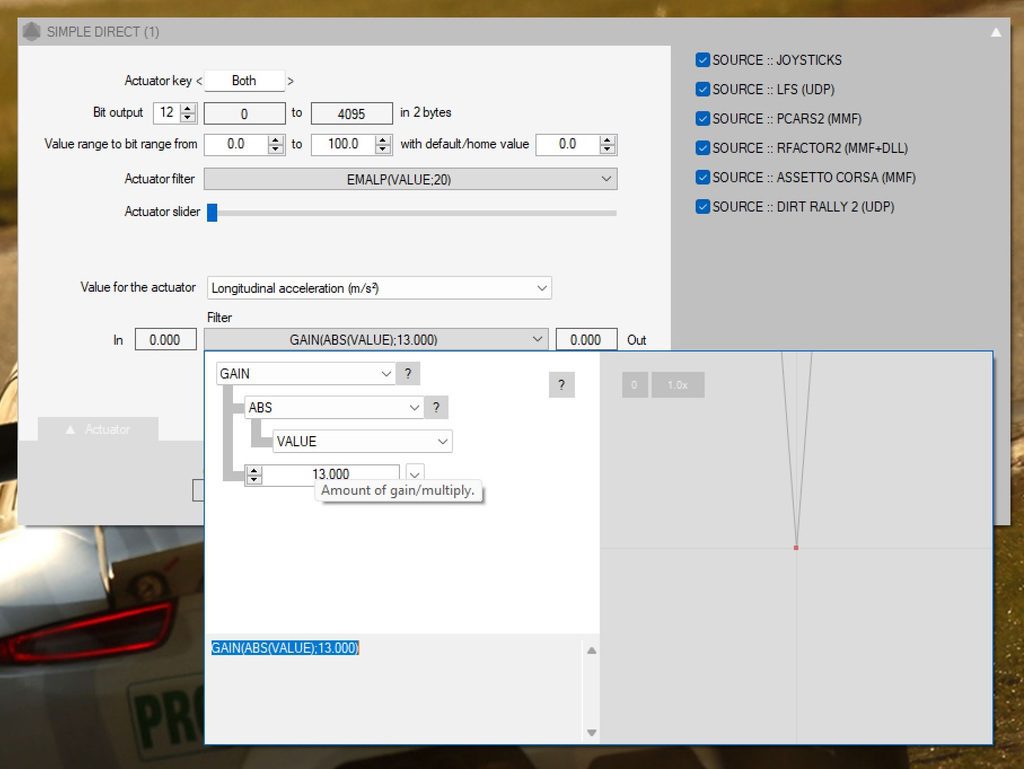
There are three “simple direct”: Accel, Brake, Both. Depending on what you want to choose, change the code in the “ouput string” field of the connect window:
In each “simple direct”, you can adjust the gain, and the filtering:
The higher the Emalp value, the smoother it is (it filters details). I recommend values between 10 and 100.
The higher the gain, the stronger the tensioner serves. I obviously recommend to start with a low gain. Recommended value: between 10 and 20.

3 thoughts on “Sim Racing SRT P1 Seat Belt Tensioner V2”