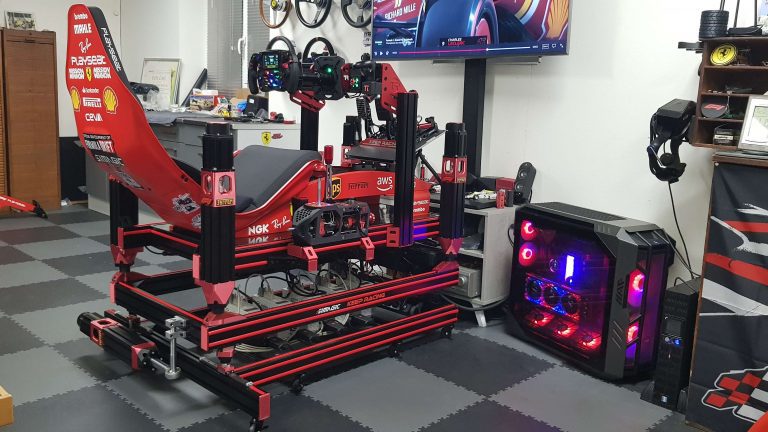
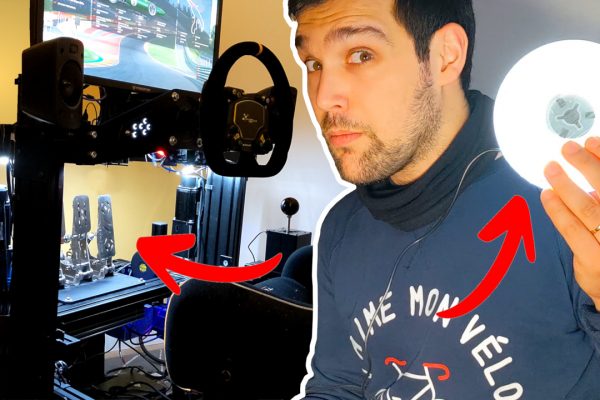
Traction Loss lets you feel the sensation of the rear end of the car drifting.
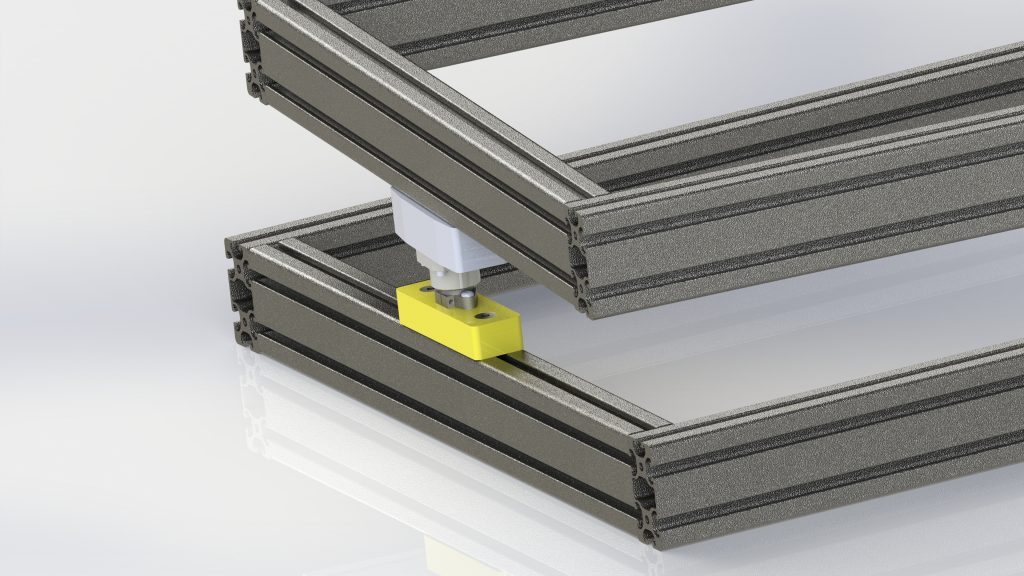
On the chassis side, the shopping list includes two frames:
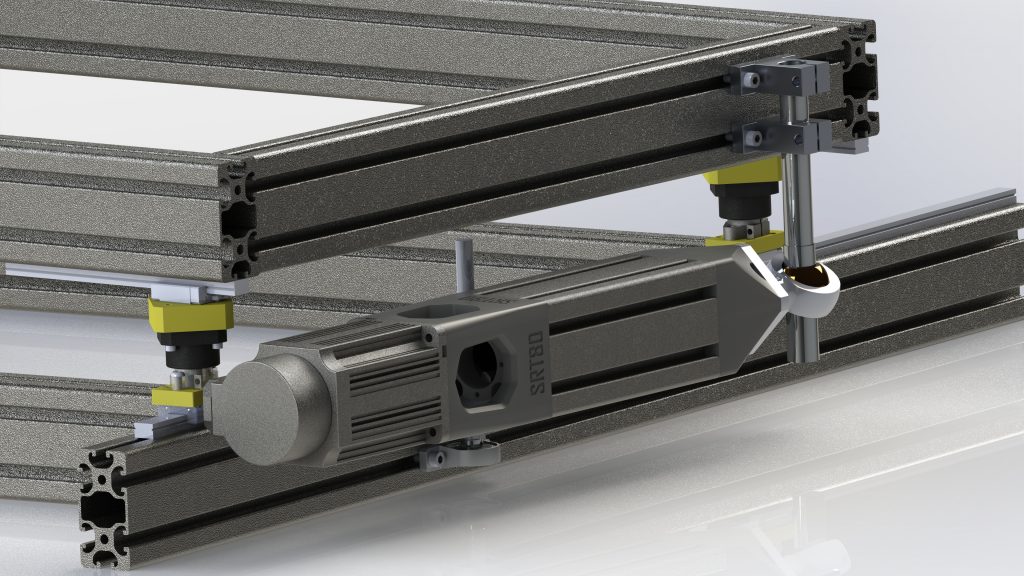
- Lower frame: the one that will be fixed, and which receives the SRT80 actuator. It’s not exactly a rectangle, as the rear section is longer to accommodate the rails.
- Upper frame: the one that pivots. This frame can be the one that holds your seat, or you can install a 4-actuator frame.
Any change in geometry modifies the length of all parts. So, if you deviate from the suggested dimensions, you’ll probably have to adjust the length of some parts. The proposed rail lengths are slightly oversized to allow adjustment to geometries approaching those proposed.
1) Shopping list
The shopping list doesn’t include the brackets.
Rig/frame :
Low frame dimensions: 70cm x 124cm
- 1 x 8040 62cm
- 2 x 8040 120cm
- 1 x 8040 110cm
Top frame dimensions: 70cm x 130cm
- 2 x 8040 62cm
- 2 x 8040 130cm
Rod ends/bearings :
3 x SHF12 (Aliexpress)
3 x FK12 (Aliexpress)
2 x SK12 (Aliexpress)
2 x SK20 (Aliexpress)
2 x KP001 (Aliexpress)
1 x POS22 (male thread-right, M22x1.5) (Aliexpress)
Rails :
2x30cm MGN15H with carriage (Aliexpress)
2x10cm MGN15H with carriage (Aliexpress)
Axles :
1 x 12x150mm (Aliexpress)
1 x custom axle (Aliexpress)
3 x Limit Screw D12 (M10), length40mm (Aliexpress)
Screws:
| DIN7991 : | DIN912 : | ISO7380 |
| 2 x M8x45 2 x M8x35 8 x M3x12 8 x M3x20 | 12 x M4x20 8 x M6x14 4 x M6x20 | 2 x M5x30 4 x M5x20 |
T nuts :
12 x M6
M3 for rails
2) Driver settings:
- pn62 = 6
- pn024 = 25
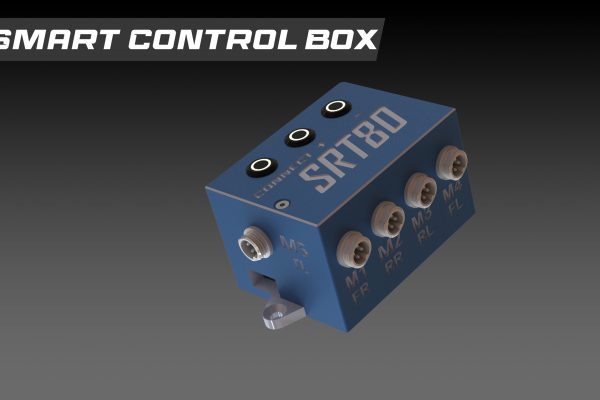
Wiring :
You can plug the DB25 coming from the driver to port 5 or 6. Then use the calibration procedure in the Motion Center.
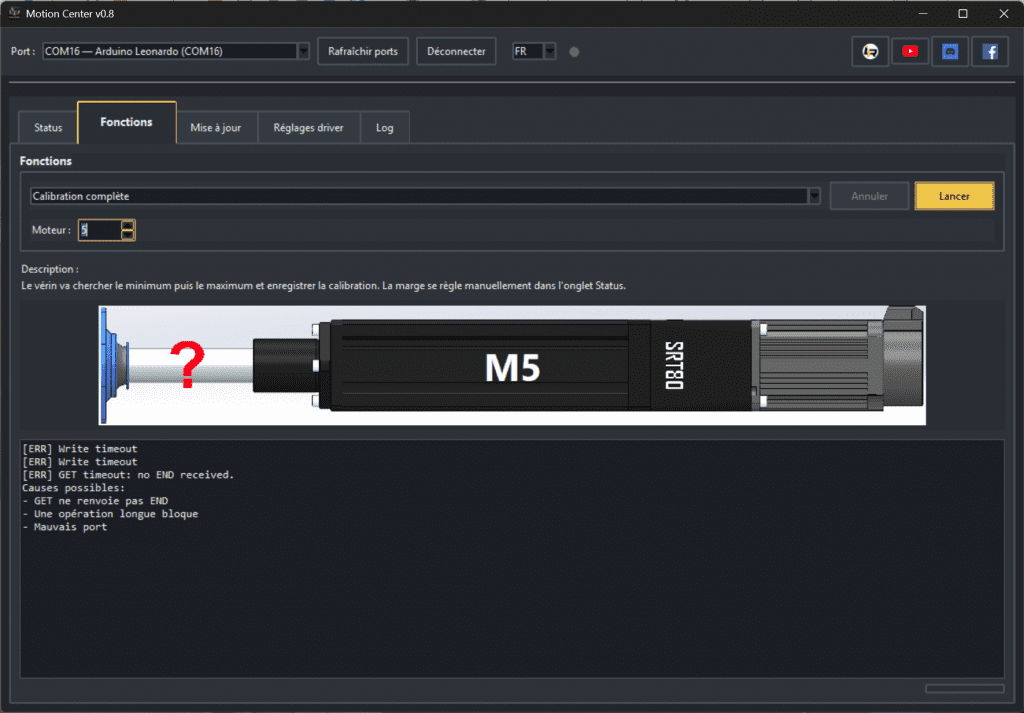
CAUTION: When the actuator reaches its minimum position, if there is no stop limiting its movement on the chassis, the motor mount (upper part) will be compressed; this is not a problem. However, when the actuator reaches its maximum position, if it encounters no obstacle, it may hit the linear bearing support, and the risk of breakage is significant.
The calibration automatically saves the found calibration values.
With Simhub, the actuator will reach the minimum position, apply the margin, return to the center, and then be ready for use. Simhub cannot exceed the margins. The maximum position is saved, so the actuator does not need to retrieve it.
“Decompressing failed. Please add 1 to Pn098, and restart calibration.” If this message appears, it means the Arduino’s resolution (0 to 65535 steps) has been exceeded. Therefore, the numerical reduction, controlled by pn098, must be increased. The default value is 6; you can change it to 7, 8, or 9 and repeat the test. Caution: increasing pn98 mechanically increases the speed. Only modify pn098 for the fifth cylinder. Do not adjust the settings for cylinders 1 through 4.
If you are no longer using the fifth actuator, it is recommended to deactivate it: go to the status tab on the Motion Center and disconnect the actuator.
4) 3D files
The 3D files are available on the download page.
If you don’t own a 3D printer, you can order them here.
Each file contains a printing instruction in the form rxxixx. The first number is the precision, the second the filling. For example r02i30 means accuracy of 0.2 and filling at 30%. It is also useful to double the thickness of the walls.
The mention “support” indicates that supports are needed…
I also recommend to activate the adhesion to avoid warping (part that comes off the support).
All the parts are in the ideal orientation for printing.
You need to print the parts for the front pivot once, and the parts for the rear pivot twice.
5) Assembly
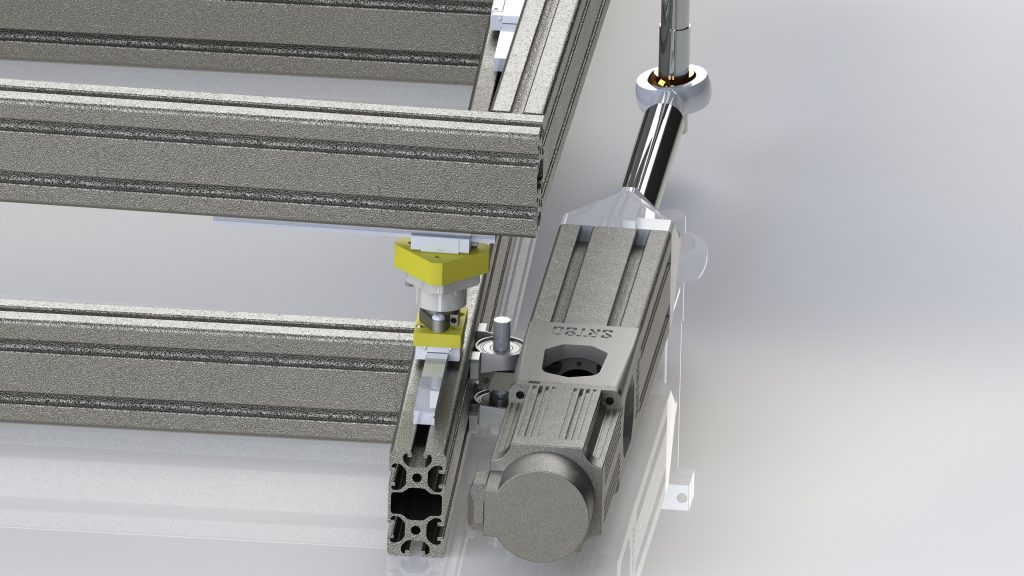
It is mandatory to add physical stops with the following functions:
1) To ensure that the chassis does not come off the rails
2) To act as a calibration stop to relieve stress on the actuators


One thought on “Traction loss rig with SRT80 actuators”