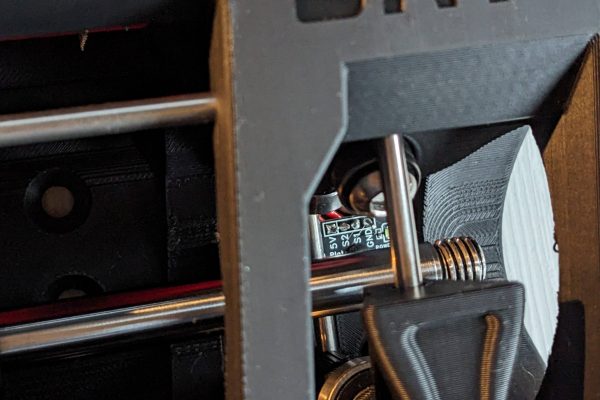
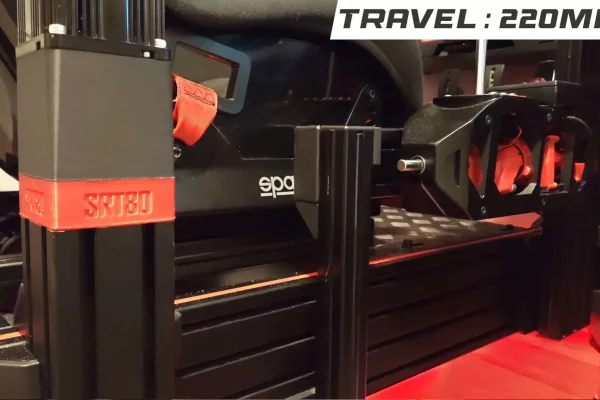
The control box contains all the electronic for the GT seat belt tensioner, and allows to make it automatic.
Want to support this project ? https://www.paypal.me/leboisVR?locale.x=en
SUMMARY :
Presentation
The 3D files are available on Thingiverse
Shopping list
A part of the components is already part of the seat belt tensioner list, these are the power supply, the motor driver and the Arduino. Here are the components that are specific to the control box :
- A relay (Aliexpress, Amazon).
- A 24V – 12V converter (read the documentation to adjust the output to 12v) (Aliexpress, Amazon)
- 12V 120mm PWM Fan (4fils) (Amazon)
- Power supply male socket (Aliexpress)
Instructions
IMPORTANT : The harness tensioner can be dangerous. At full power, it is very stressfull around the collarbones. It is therefore necessary to provide an emergency stop button.
Make all the connections with the power off.
Do all electronic tests without any parts on the shaft.
Once the tests have been carried out, and the belt installed, carry out the tests in 10% power increments.


Hi,
Could this box be used to control 2 motors?
i think yes
Hola desde españa!
Hay en algun lugar un esquema electrico? no me queda claro las conexiones de los cables en el video.
Gracias!