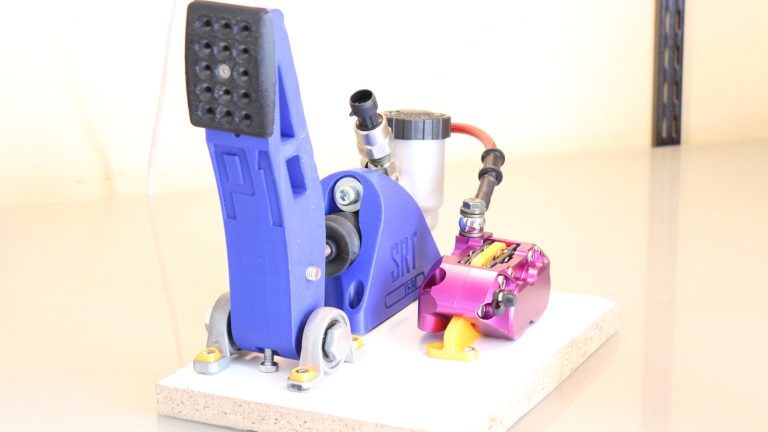
The SRT P1 brake pedal is based on the following principle: connect your pedal to a real brake system! Impossible to have a more realistic feeling !
You want to support this project ? https://www.paypal.me/leboisVR?locale.x=en
Summary:
For info: I do not sell ANY PEDALS OR PRINTED PARTS. That would be trading, and I am not, and do not wish to be a trader. I don’t do black either. No need to ask. However, I am looking for a company that could produce plastic parts for those who do not own 3D printers. If you know of any…
1) Presentation
2) Features
You can tune the lever position by adjusting the bearings position.
There is a screw to add a preload on the master cylinder, so you can shorter the phase of the travel that is very soft.
I use a hydraulic pressure sensor. It acts like a potentiometer. You got only three wires : red (3.3V or 5V), black (ground), green (signal).
Regarding the support:
– Wood version will use wood screws to fix the support to the ground.
– M6 version will use M6 screws to fix the support to the ground.
The Rev2 modifies the system. More informations about the REV 2.
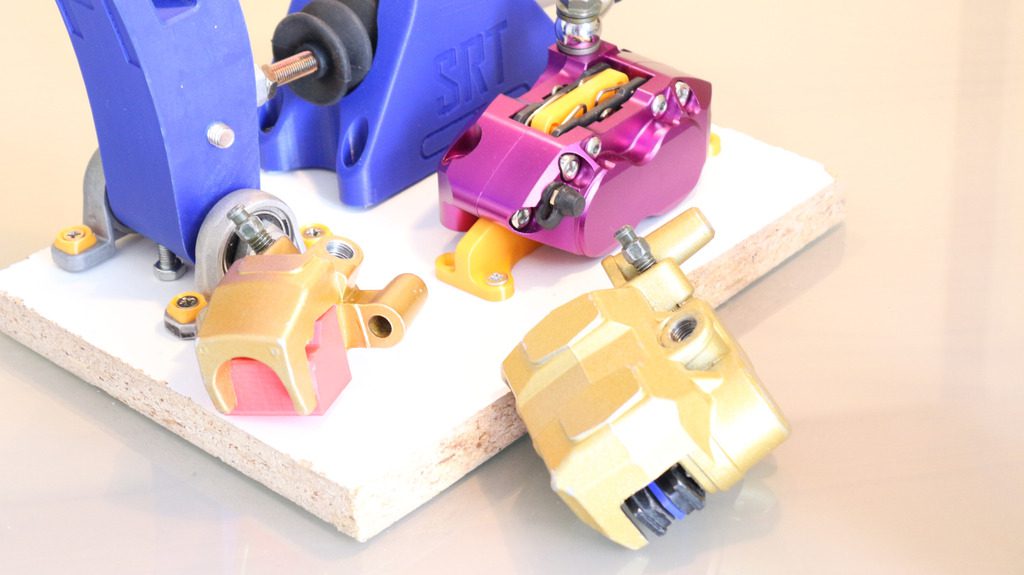
Here is the pictures of the brake pedal (v5.3) REV1:
And in Rev2 :
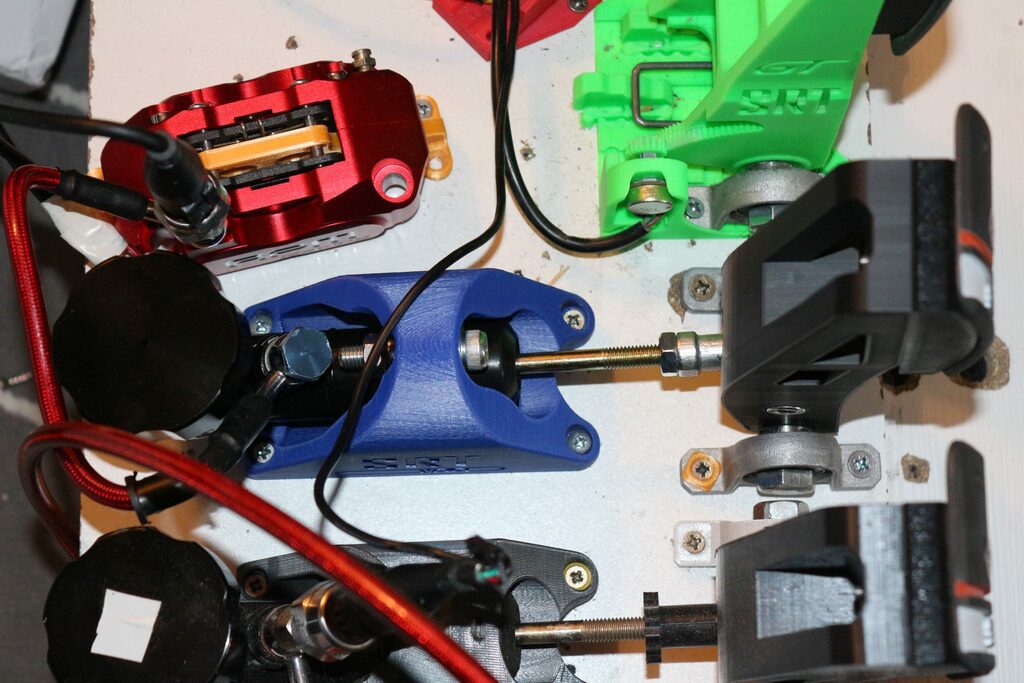

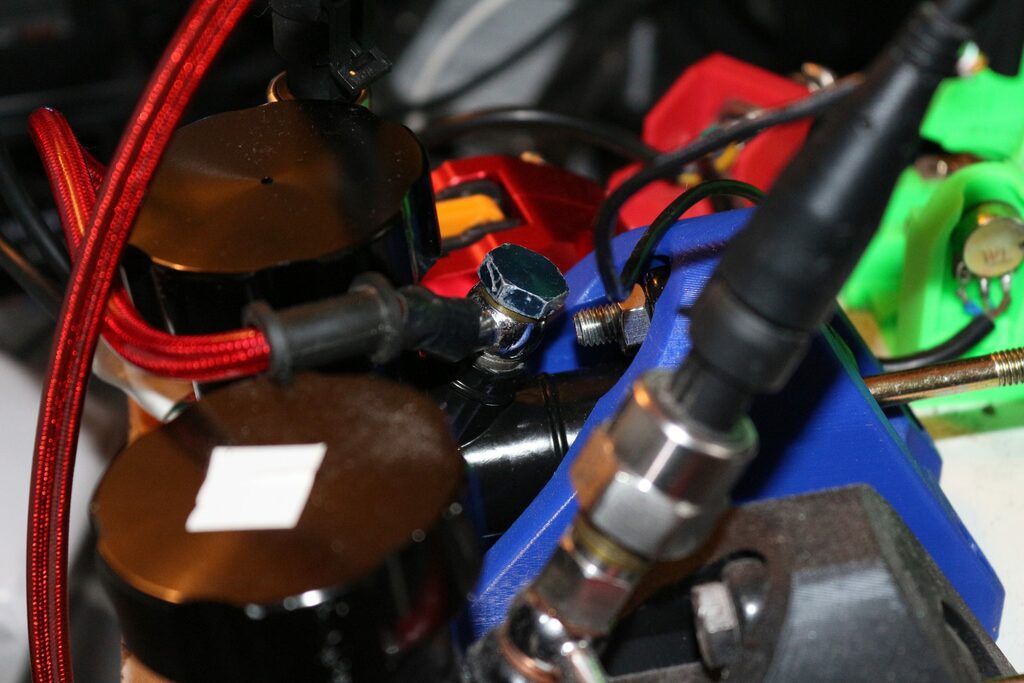
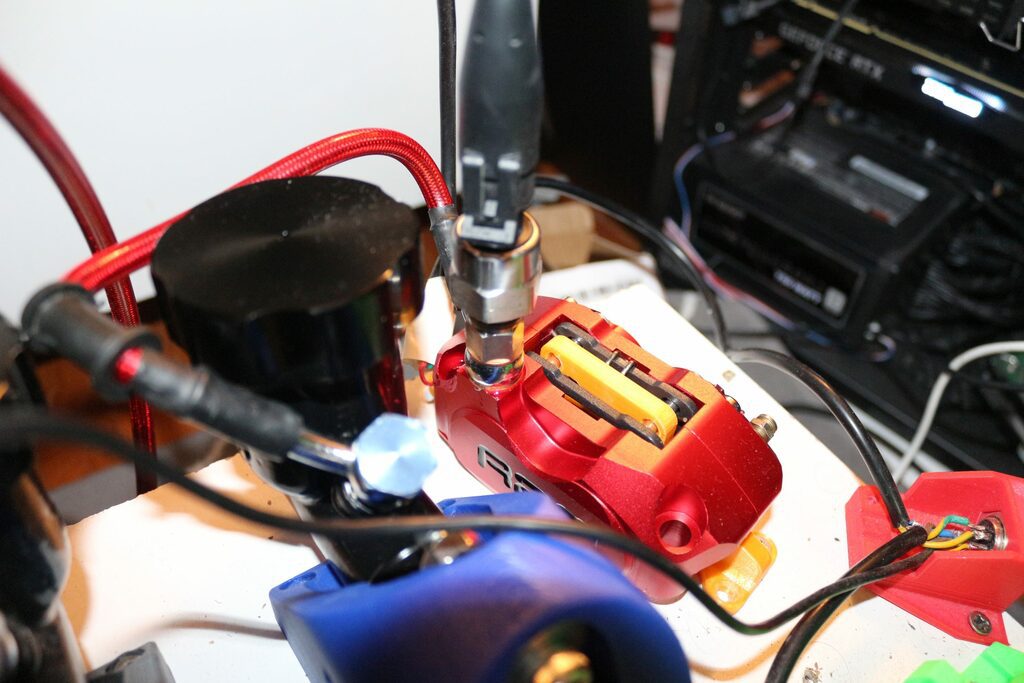
3) Shopping list
The updated shopping list is now online !
- Hydraulic pressure sensor 500psi 1/8″ NPT (Amazon, Aliexpress, Ebay).If you push EXTREMELY hard you might consider using a 1000 psi sensor. I never exceeded 60%.
- Cables 3cores 22awg (outer diameter is 4mm).
Mechanics:
- Brake caliper : Single piston (A) (Amazon, Aliexpress, Ebay), Double pistons (B), 4 pistons (C)
- Master cylinder : Willwood or OBP or Ali
- 1kg PLA (Amazon)
- 2 bearings KP001 12mm (Amazon, Aliexpress, Ebay) (Each SRT pedal requires two 12mm KP001)
- 1 M8 rod end for Ali master cylinder, or this one for the Willwood and OBP.
- 1 Banjo M10x1.25 with pressure sensor mount (Ebay) (goes between the brake calipper and the pressure sensor).
- 1 Banjo UNF 3/8-24UNF (Aliexpress, Ebay) that goes on the master cylinder.
- 1 brake hose (Amazon, Aliexpress)
- Joints
Screws :
– 1 x M5x50mm DIN912 for the preload (Aliexpress)
– 2 x M4x20mm Flat Head Countersunk and 2x m4 nuts. This Amazon kit contains the two screws and many others that will be useful for other projects.
– 3 xM8x35 : 2 for the master cylinder, 1 for the M8 rod end. (Aliexpress)
– 1 x M12x100 metal axle (Amazon, Aliexpress, Ebay)
How to choose the master cylinder ? A priori, there are many master cylinders compatible. The chinese model is the one that I have been using almost since the beginning, and it clearly does the job. Otherwise you can use other brands. Beside the dimensions, you need to mind foor numbers :
– Thread inlet : for the oil reservoir. If it’s not integrated, you need to find one.
– Thread outlet : This is where the banjo is installed, so it needs to match the banjo thread. The one advised above is 3/8″-24 UNF.
– Piston axle thread : it needs to be M8, because the rod is M8.
– Piston diameter : bigger = shorter stroke and harder resistance. The advised master cylinder is 0,7″.
4) Assembly instructions

1) Install the master cylinder in the master cylinder holder
- Use one M8x35mm bolt and M8 nut for each hole.
- The head of the lower bolt goes at the back.
2) Install the M8 rod end in the brake lever
3) Use one M8x35mm screw to secure the M8 rod end. It should tight into the plastic
4) Slide the M12 Axle into the brake lever
5) Slide the KP001 bearings to the M12 axle
6) Fix the KP001 bearings to the ground
7) Screw the master cylinder axle into the M8 rod.
8) Fix the master cylinder support to the ground.
9) Build the hydraulic system
(to be continued soon)
Been thinking about a clutch to go with your gearbox…you could use exactly the same pedal and master cylinder as your p1 brake with maybe only 100 or 200psi sensor. On the gearbox side use a pull type slave cylinder like this https://www.ebay.com.au/i/142464145103?chn=ps&norover=1&mkevt=1&mkrid=705-139619-5960-0&mkcid=2&itemid=142464145103&targetid=926967186692&device=m&mktype=pla&googleloc=9071661&poi=&campaignid=9767741039&mkgroupid=100117146856&rlsatarget=pla-926967186692&abcId=578876&merchantid=115534742&gclid=Cj0KCQjwlvT8BRDeARIsAACRFiUta-sBbI-66fDCLFI7c2EcTUFZvQA2X_6n-Mu_b0JzpgTZUVXg0HoaAm0SEALw_wcB
To pull the cable for your clutch release
Hi there.
Amazing idea.
Would you mind making a video to explain how to connect the pressure sensor to the computer and run the code, please?
Great designs!!
Hi ! Soon I should have the time to do this 😉
No worries.
I’m starting to learn more about Arduino in the meantime to build these pedals. Looking forward to this project 🙂
Happy New Year!
Hello, interesting Project. If you are still looking for someone for printing I would be up for it. Feel free to contact me.
Giulio
Hi the project is open for every one 🙂
Thank you very much for making this so accessible.
Hi Lebois,
Great idea and good inspiration. I was wondering about doing myself a set of 3d printed pedals. Your solution save much time and headaches about springs, elastomer springs, relationships and so on.
I have a question that is itching my brain and I don’t find an answer:
Could you put the pressure sensor directly to the master cylinder? If the pressure builds up in the closed system while pressing the pedal, why is at the caliper where is measured? Is because it needs some resistance? Will be just the sensor “resistance” enough?
Thanks for sharing your ideas!
the pressure is the same at each point of the circuit.
Thanks for the reply… winter is coming and I will enjoy it making your brake.
Cheers!