SRT80/ SRT v10 VS Brands Hatch/Group C - Lebois Racing Rig
H pattern DIY Gearbox SRT V10 : Assembly Guide
SRT Gearbox V10 : presentation !
SRT80 | Simhub Motion | Group C | Le Mans by Lebois Racing
SRT Gearbox V9 : it's OVER.
SRT80 actuators vs WRC sim racing motion rig #racing #simracing #automobile #rally #motionrig
Simjack Pro pedals : Long Term Review
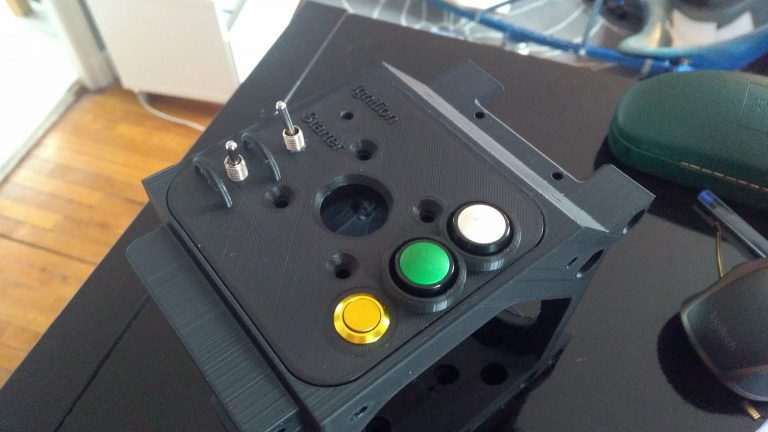
Z906 control panel holder for alloy extrusion sim racing
SRT80 vs Sebring (in the rain, or it's no fun)
He sends me his own SRT Gearbox !
How to : Pimax Crystal and Motion Compensation with OpenXR
SRT Seat Belt Tensioner Simhub : first run
SRT Gearbox v9.1 : The Best H-pattern Gearbox in sim racing ?
SRT Gearbox V9.1 : How to Start !
4 - Flash the arduino code - SRT Gearbox V9.1 Assembly
 Unlock with Patreon

4 thoughts on “Mod button plate”